
Essential Guide to Vapor Barrier Installation for Homeowners
Understanding Vapor Barrier Installation
What is a Vapor Barrier?
A vapor barrier is a material installed to prevent moisture from migrating into inhabited spaces, particularly in areas like crawl spaces, basements, and foundations. Typically made from polyethylene plastic sheets, vapor barriers are crucial in areas where humidity and condensation can lead to significant structural damage or health hazards such as mold growth. The primary purpose is to create a moisture-resistant boundary that helps maintain optimal humidity levels in your living environment.
Importance of Vapor Barrier Installation
The installation of a vapor barrier is essential for several reasons. Firstly, it protects your home’s structure from moisture buildup, which can cause rot and deterioration of wood and other materials. Secondly, it prevents mold and mildew growth, which can significantly impact indoor air quality and health. Additionally, a properly installed vapor barrier can improve the overall energy efficiency of your home by helping to control humidity and reducing the workload on heating and cooling systems. Understanding these benefits emphasizes the need for Vapor Barrier Installation as an essential aspect of home maintenance.
Materials Needed for Installation
To effectively install a vapor barrier, a number of materials and tools will be required. The primary material is the vapor barrier itself, typically a polyethylene sheet available in various thicknesses. It is advisable to use at least a 6-mil thick barrier for residential properties. Other materials might include adhesive tape for securing seams and edges, ground anchors for holding the barrier in place, and concrete blocks if additional weight is needed to ensure proper installation. Additionally, protective gear such as gloves, goggles, and knee pads may be necessary for safety during the installation process.
Planning Your Vapor Barrier Installation
Assessing Your Crawl Space Condition
Before beginning the installation of a vapor barrier, it is crucial to assess the condition of your crawl space. Look for signs of moisture, such as dampness on walls, puddles of water, or even standing water. Inspect for cracks in the foundation walls or floor, which may indicate water intrusion. Additionally, check for any signs of mold or mildew, as these can be indicators of high humidity levels. Understanding the current condition of your crawl space will help you determine the best approach to take and whether additional measures, such as drainage systems, are necessary before installing the vapor barrier.
Choosing the Right Vapor Barrier Material
Choosing the right material for your vapor barrier is crucial for its effectiveness. Polyethylene sheeting is the most common choice; however, it is available in several thicknesses and styles. For residential applications, a thickness of at least 6 mil is recommended. Some homes may benefit from thicker options, such as 10 or 15 mil, especially in areas with severe moisture problems. Consider factors like UV resistance if the barrier will be exposed to light and puncture resistance to ensure durability. Additionally, breathable barriers may be beneficial in specific climates where moisture management is critical.
Tools and Equipment for Effective Installation
Having the right tools on hand is essential for an effective installation. Key tools include a utility knife for cutting the vapor barrier material, measuring tape for precise measurements, a straight edge for guiding cuts, and a stapler or adhesive tape for securing the barrier to foundation walls. If your crawl space is large, a partner can help with positioning the barrier correctly while you secure it in place. You may also need a crawl space vent cover or a dehumidifier if your assessments determine that moisture levels remain high.
Step-by-Step Guide to Vapor Barrier Installation
Preparing the Crawl Space
Preparation is the first crucial step before installing the vapor barrier. Start by removing any debris, rocks, or sharp objects from the crawl space that could puncture the barrier. Check the ground for any signs of pooling water or areas that retain moisture and rectify these issues beforehand. If your crawl space has exposed insulation, consider covering or removing it, as moisture can become trapped against the insulation, leading to mold growth. Ensuring that your crawl space is clean and dry will significantly enhance the effectiveness of the vapor barrier installation.
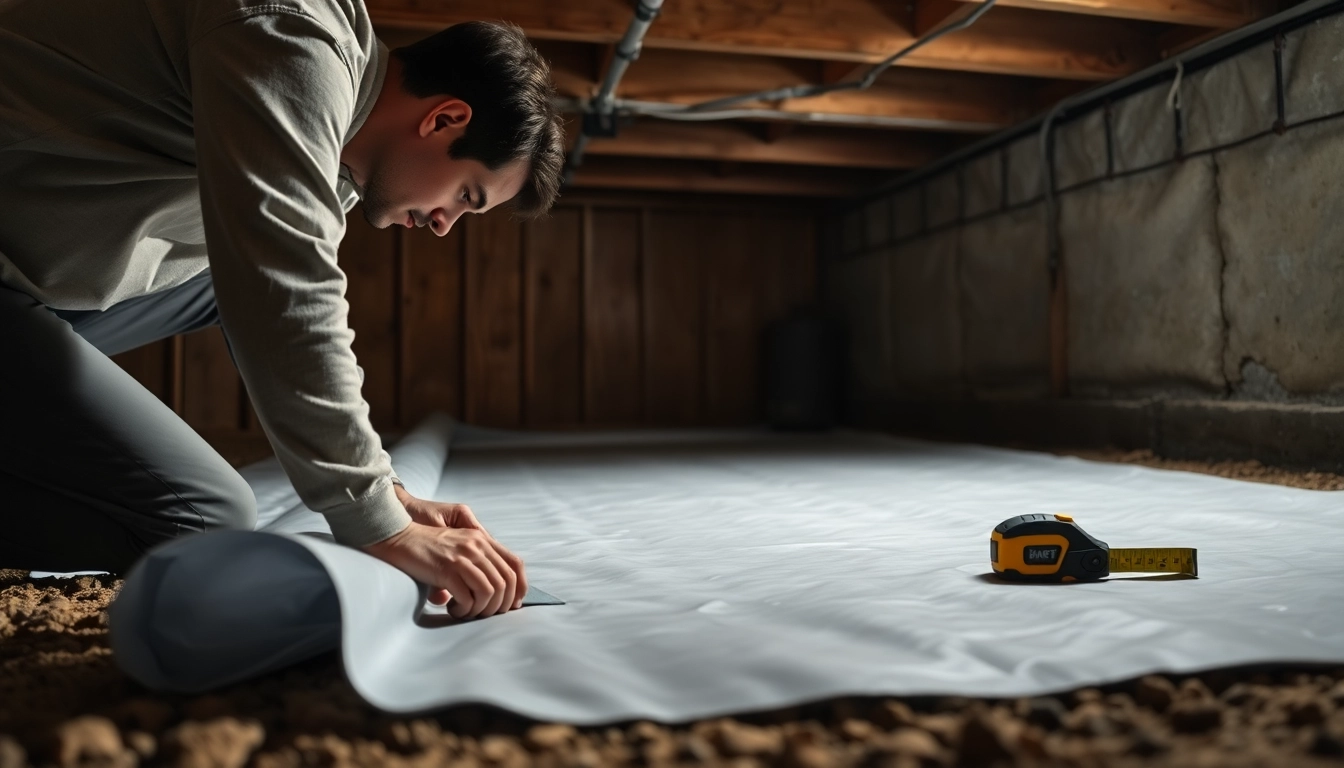
Laying Down the Vapor Barrier
Once the crawl space is prepared, you can begin laying down the vapor barrier. Start at one end and unroll the barrier across the entire crawl space floor. Ensure that the plastic sheeting overlaps any seams by at least 12 inches to prevent moisture penetration. If your crawl space has an uneven surface, you may need to cut the vapor barrier into smaller sections to fit snugly. As you lay down the material, ensure that it is taut and smooth, without any wrinkles or folds that could trap moisture. It’s essential to cover any protrusions from the ground to minimize potential breaches.
Securing and Sealing the Edges
After laying the barrier down, the next step is to secure it and seal the edges properly. Use heavy-duty tape or adhesive designed for vapor barriers to seal the seams and edges. Ensure that all overlaps are sealed tightly to prevent moisture from seeping in. If the vapor barrier has been installed against walls, use a staple gun to attach it securely. Pay special attention to corners and any access points, as these are common areas where moisture can infiltrate. Sealing these areas effectively is vital for the long-term success of your vapor barrier installation.
Common Challenges in Vapor Barrier Installation
Identifying Moisture Sources
One of the most significant challenges in vapor barrier installation is identifying and mitigating the sources of moisture. Common culprits include rising ground moisture, plumbing leaks, or even high outdoor humidity levels. Before installing a vapor barrier, it’s critical to address these issues proactively. You may need to consider incorporating drainage solutions, such as french drains, or installing a sump pump if water accumulation is a recurring issue. Regular inspections of plumbing and nearby landscapes are also advisable.
Troubleshooting Installation Issues
Sometimes, even with careful planning, installation issues may arise. Common problems include gaps between the barrier and the foundation or areas where the material may have sagged or shifted. If you encounter these issues, carefully lift and reposition the vapor barrier, ensuring it fits tightly against the floor and walls without any gaps. If seams appear to be peeling or coming apart, reinforce them with additional tape or adhesive, as any breaches can compromise the effectiveness of the barrier.
Maintenance Tips After Installation
Once your vapor barrier has been installed, some ongoing maintenance is essential to ensure its effectiveness. Regularly inspect the barrier for any signs of damage or moisture accumulation. This includes checking for tears, punctures, or areas where mold may begin to develop. Maintenance can also include monitoring humidity levels with a hygrometer and adjusting ventilation in your crawl space accordingly. In some cases, running a dehumidifier can help manage moisture levels better in areas prone to dampness.
FAQs About Vapor Barrier Installation
How long does a vapor barrier last?
A quality vapor barrier can last over 20 years if installed correctly and maintained appropriately, making it a durable solution for moisture prevention.
Can I install a vapor barrier myself?
Yes, if you’re comfortable with DIY tasks, you can install a vapor barrier. However, it’s essential to follow safety precautions and guidelines to ensure proper installation.
What thickness should a vapor barrier be?
A minimum thickness of 6 mil is recommended for vapor barriers in residential installations. Thicker options are available for areas prone to excessive moisture.
Is a vapor barrier necessary in my area?
Regions with high humidity or moisture issues typically require a vapor barrier to prevent damage to structures and improve air quality.
Can I use plastic sheeting as a vapor barrier?
Yes, polyethylene plastic sheeting is a common and effective material used for vapor barrier installation, providing a reliable moisture barrier.


